

How To Change Out Jeep Wk2 Inserts
WK2 Lower Front end Fascia (Removal & Installation)
July 07, 2015

Removing and installing the lower front fascia (aka 'lower front air dam') on 2011-2016 Jeep Grand Cherokees tin can be a bit tricky. Jeep designed the lower front end fascia to exist removed when heading off-road and re-installed whenever you return to bitumen. It's a great characteristic and Jeep provides basic instructions in the Owners Manual, but nosotros often get requests from customers who are attempting it for the start fourth dimension and are eager for some piece of cake-to-follow-instructions.
To make things a bit easier we've also created a PDF version of these instructions, (DOWNLOAD).
REMOVAL
- Remove quarter-turn fasteners at each corner.
Looking from underneath the lower fascia, locate the (2) quarter-plough fasteners at each corner, (driver & passenger). Turn each fastener 1/4 plough and remove.

- Remove quarter-turn fasteners at center.
Looking from underneath the lower fascia, locate the (three) quarter-turn fasteners at the centre. Turn each fastener ane/4 turn and remove.

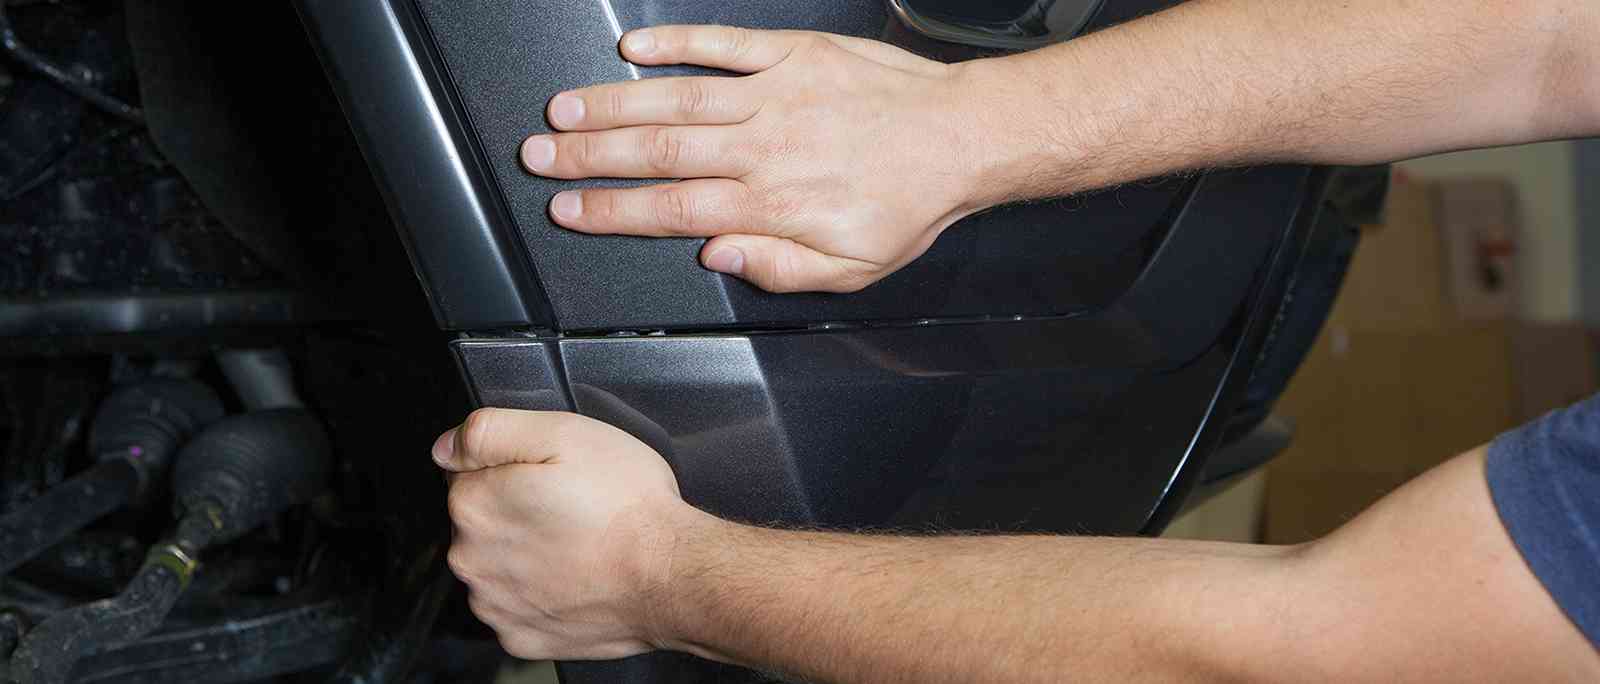
- Disconnect corners of Lower Fascia.
While holding the bumper cover in position with one hand, pull the corner of lower fascia forrard with your other hand. The first time may be a flake difficult, simply if you are bracing the bumper encompass, experience costless to give it a practiced tug until it pops out. Do this on both sides (driver & rider).
- Disconnect Lower Fascia.
With the corners removed, motility towards the centre and go along pulling the lower fascia abroad from the vehicle. It works all-time if you brace the bumper higher up where you're pulling. Keep moving along until the lower fascia is completely removed. Exist careful not to let the lower fascia fall onto the ground, it is easily scratched.

- Lower Fascia is now fully removed.

INSTALLATION
- Attach corners of Lower Fascia.
Slide the tabs on the corner of the lower fascia into the slots on the bumper cover. Do this on both sides (driver & passenger). It's helpful to have someone hold 1 corner in place while you exercise the other.

- Install eye of Lower Fascia.
Making sure the tabs are aligned with the corresponding slots on the bumper cover, button until the tabs click into place.

- Install quarter-turn fasteners at centre.
Looking from underneath the lower fascia, insert the (3) quarter-turn fasteners through the plastic tabs on the air baffle and into the slots in the sub-frame. Turn each fastener 1/4 plow to secure.
- Install quarter-turn fasteners at each corner.
Looking from underneath the lower fascia, insert both quarter-plough fasteners and secure. Insert (one) quarter-plough fastener through the slot in the felt bicycle well liner and into the slot on the lower front end fascia (ruddy). Turn ane/4 turn to secure. Insert (1) quarter-turn fastener through the slot on the lower front fascia and into the bumper comprehend (green). Turn i/4 turn to secure. Exercise this at both corners, (driver & passenger).

- Lower Fascia is now fully installed.

Note
Removing the lower front fascia keeps it safety when you're heading off-road, but it still leaves the disquisitional components backside the fascia, (Lower Radiator Cadre, ACC Camera, Windshield Washer Bottle and Air Suspension Controller) exposed to damage. To tackle this problem, Chief Products engineered the WK2 Lower Front Guard. Weighing only 15kg (approx.) when fully installed, it installs behind the lower front end fascia, providing protection for this area off-road while nevertheless allowing you to maintain a factory appearance on-road.
Source: https://www.chiefproducts.com.au/blogs/how-to/11555201-wk2-lower-front-fascia-removal-installation
Posted by: benoitcabol2001.blogspot.com
0 Response to "How To Change Out Jeep Wk2 Inserts"
Post a Comment